As an Amazon Associate I earn from qualifying purchases. Some links below may earn a small commission at no extra cost to you.
Featured Product
Blackstone 36" Outdoor Flat Top Griddle
4-burner, 720 sq-in of cooking surface. The griddle that makes this recipe possible.
Check Price on AmazonWhy Almost Burnt Is the Right Call
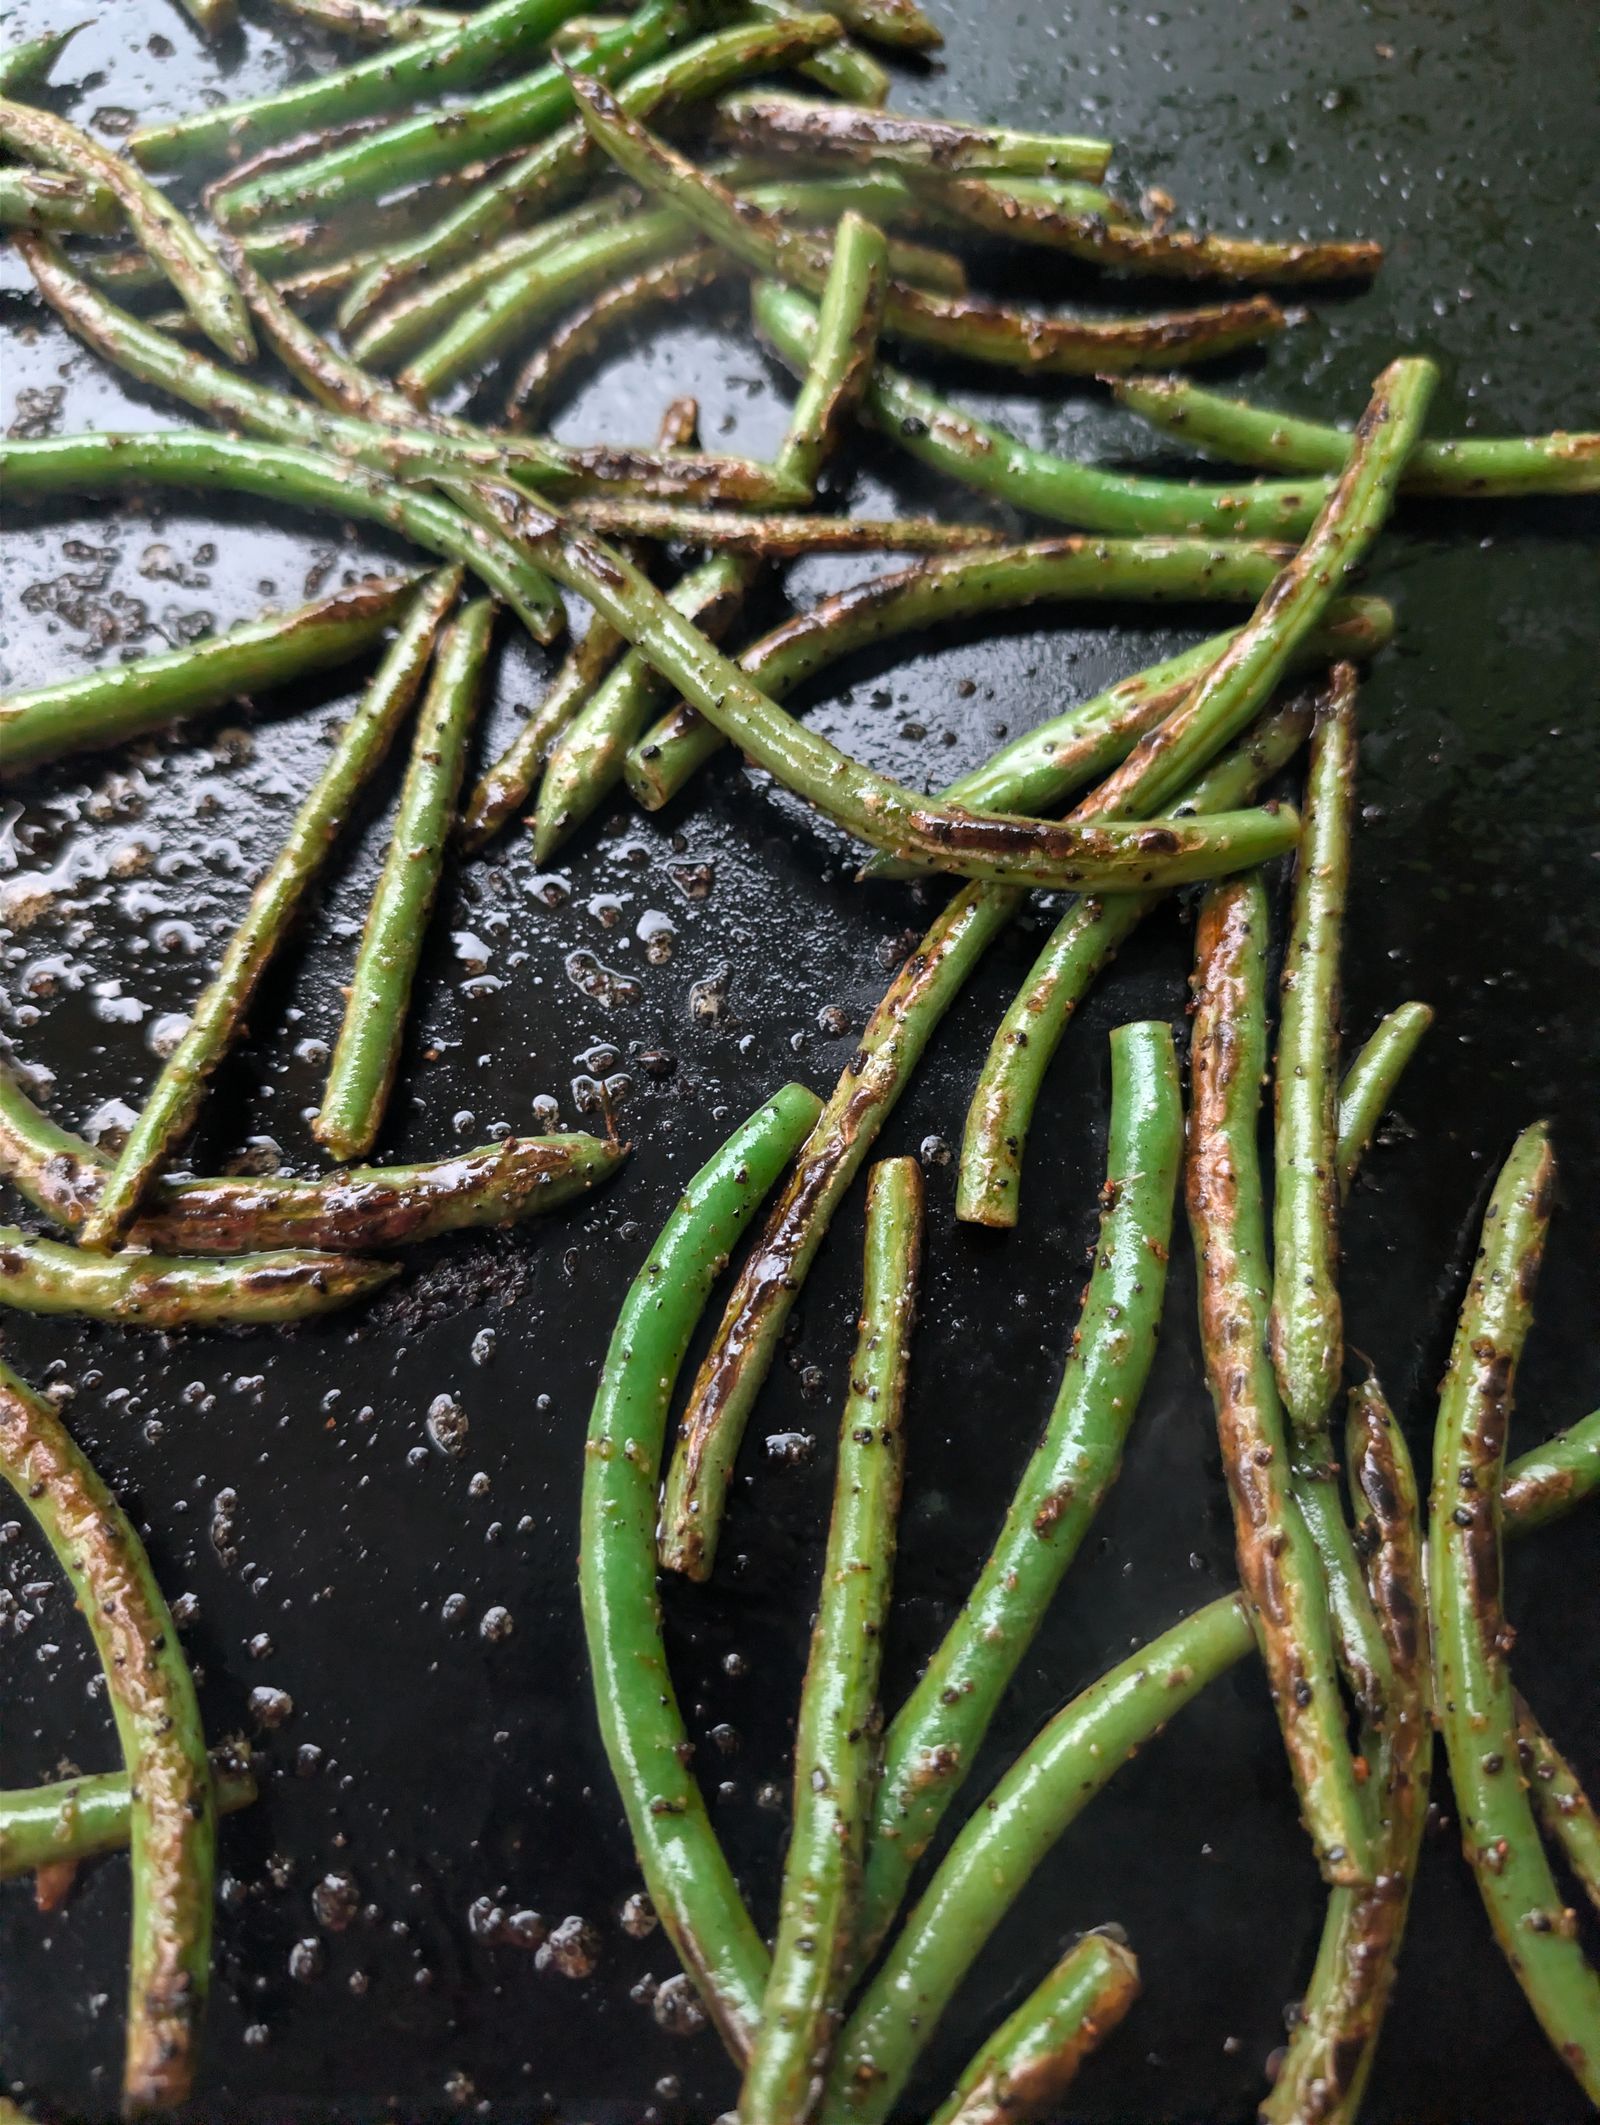
Most people pull green beans too early. They come off the griddle soft and greasy, technically cooked but completely wrong. The char is the flavor. You want blistered, wrinkled skin with dark spots and a bite that still has some snap in the center. If they look a little scary, they're probably perfect.
The flat top does something no skillet can replicate: even, uninterrupted contact across every bean simultaneously. Spread them out right and this recipe runs itself. The Blackstone runs this better than anything else in the backyard.
Ingredients
- Fresh green beans, ends trimmed (about a pound)
- Olive oil, some for the cook and a splash for finishing
- Montreal Steak Seasoning, for finishing
- Garlic (optional), added late so it doesn't burn
Pro tip: Dry your beans before you oil them. Surface moisture steams instead of sears. You'll never get real char out of a wet bean. Pat them with a paper towel if you rinsed them first.
Instructions
1. Trim Both Ends
Cut the stem end and the tail off every bean. Takes a few minutes. Worth it. Uniform length means uniform cook. Nothing worse than half the beans overdone while the thick ones are still raw in the middle.
2. Preheat to Medium-High
Fire up the Blackstone to medium-high and let it run for 5–8 minutes before you drop anything. Surface temp around 400–425°F is the sweet spot. Hot enough to char the skin, cool enough to cook through without burning the outside while the inside stays raw.
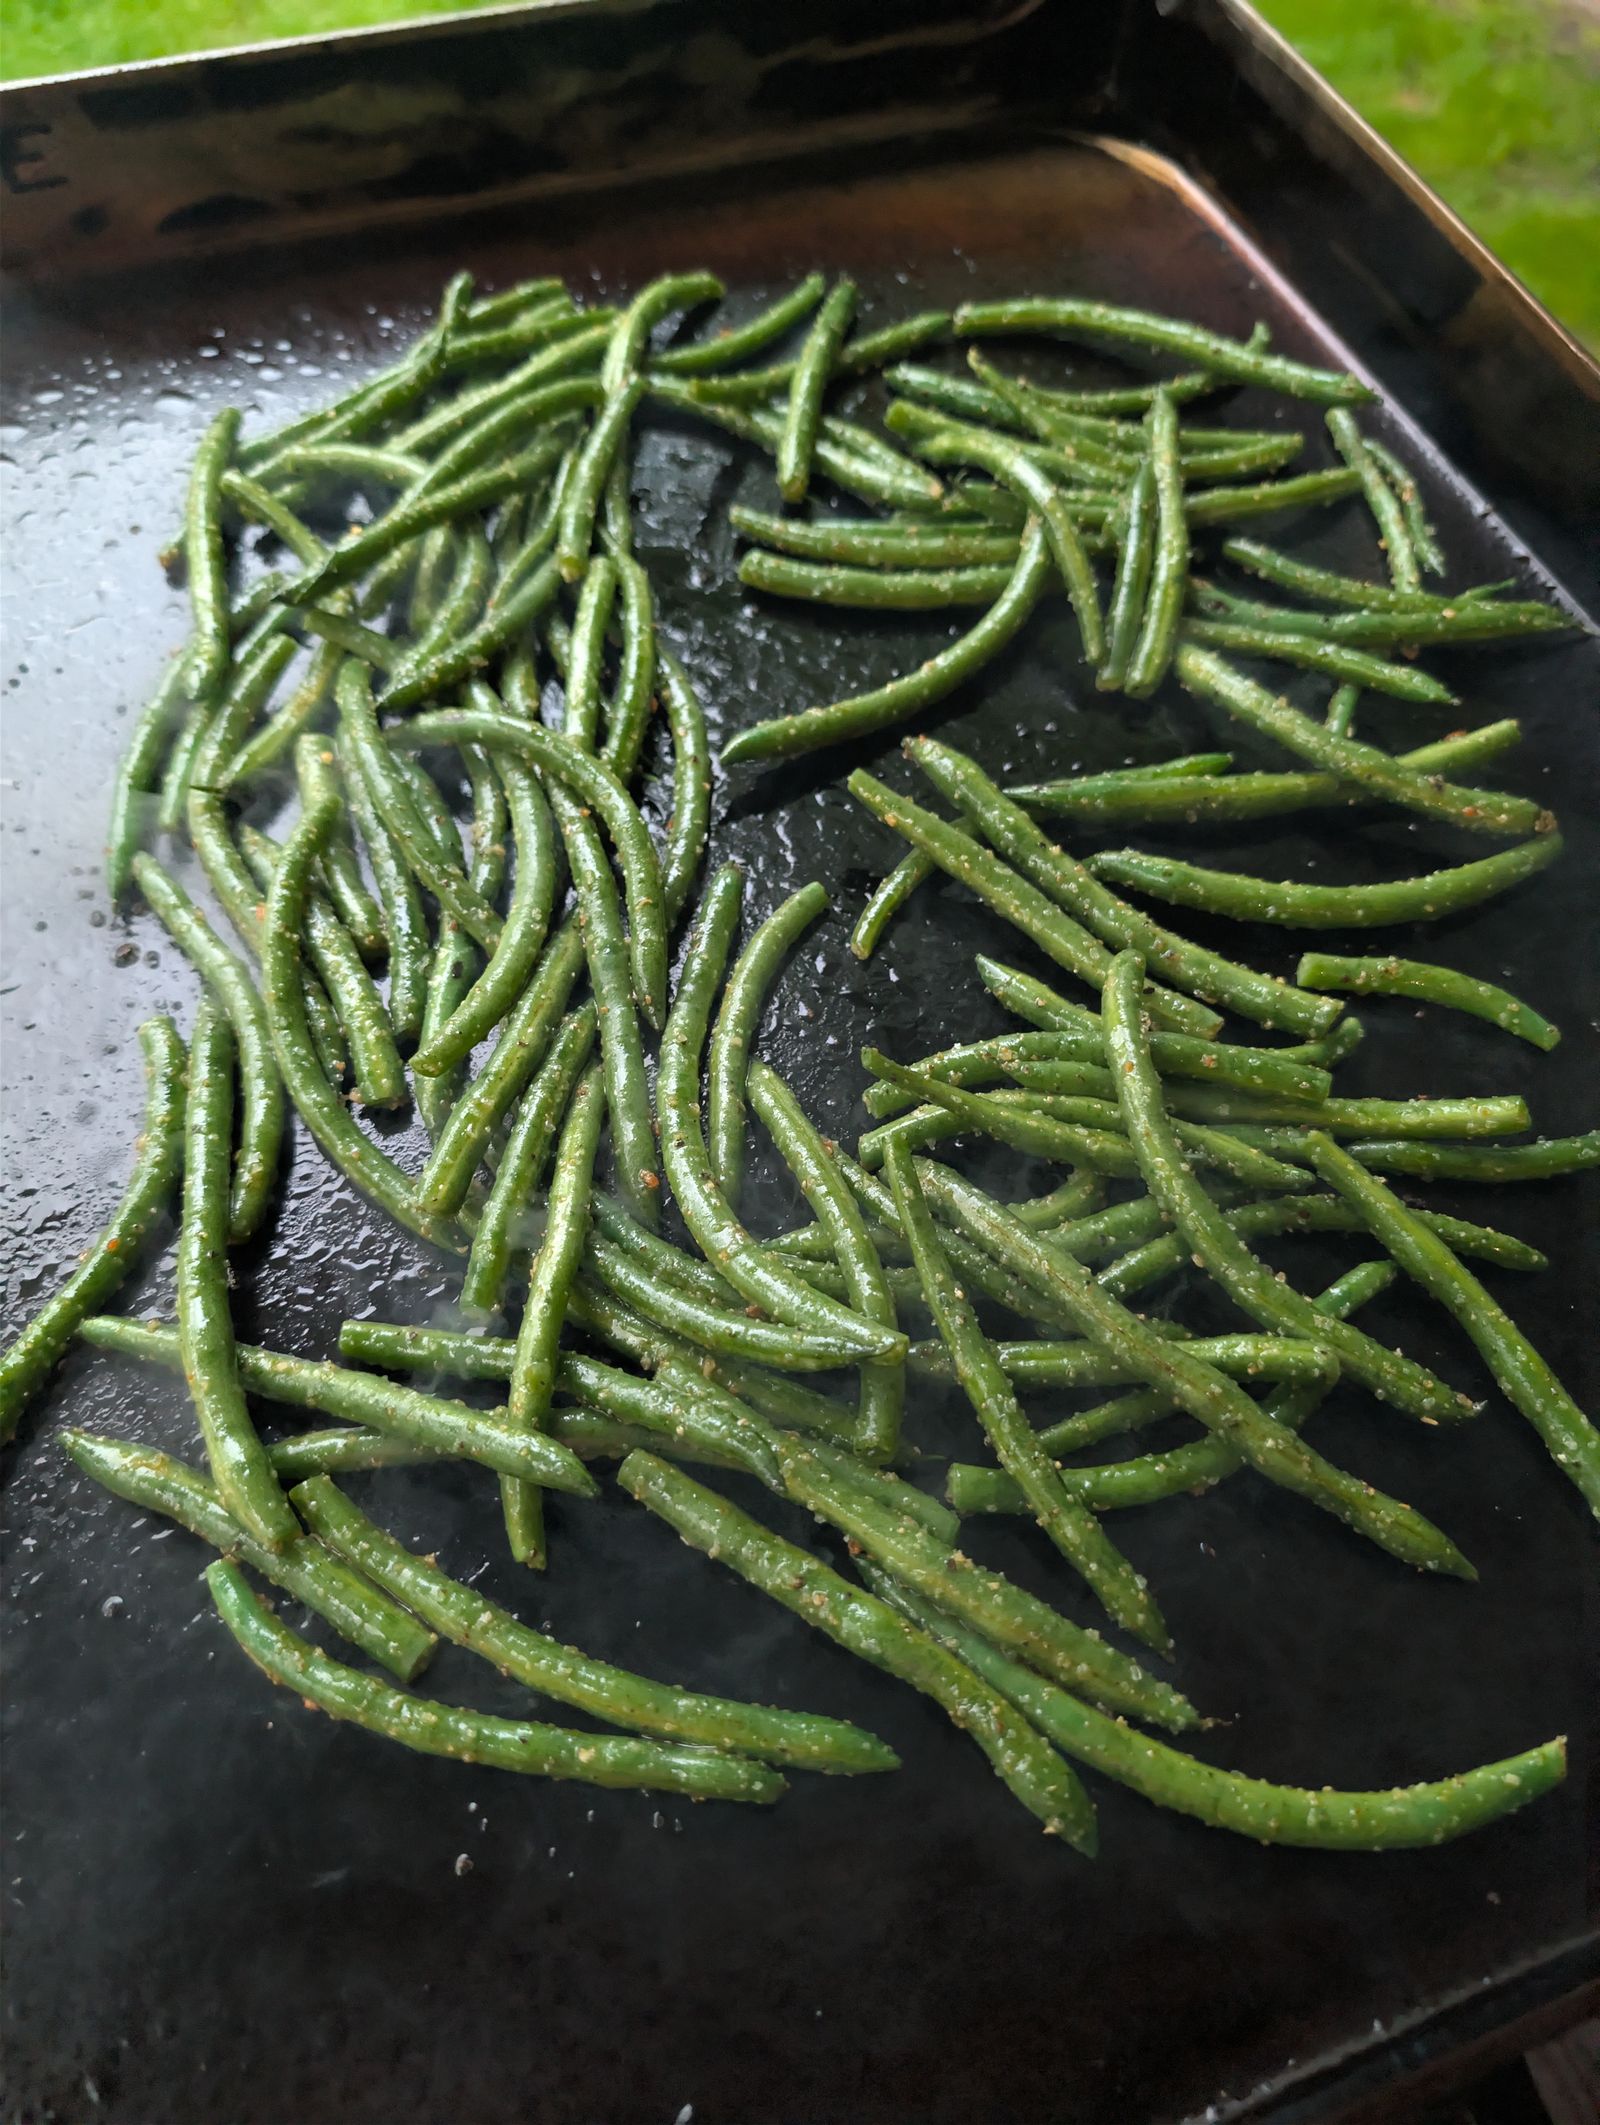
3. Coat in Olive Oil and Drop Flat
Toss the beans in olive oil until every surface is coated. Lay them flat on the griddle in a single layer. Don't pile them. You need direct contact with the hot surface to build char. If you're cooking a large batch, work in two rounds.
4. Cook Until They Look Almost Wrong
Leave them alone. Resist the urge to move them every 30 seconds. Let them sit and build a crust, then turn every 2–3 minutes so multiple sides get contact with the surface. Total time is 8–10 minutes. You're looking for blistered, wrinkled skin and dark char spots across the beans. When they look almost overdone, pull them in another minute, not right now. That last minute matters.
5. Add Garlic Last (Optional)
Skip this step if you do not want garlic. If you do, add it once the beans are 80–90% done with heavy char on them. Minced or sliced fresh garlic, dropped right on the griddle alongside the beans. Toss everything together and give it 60–90 seconds. Add it any earlier and it scorches to a bitter, acrid paste before the beans are close to done. At the end, it blooms in the residual heat.
6. Bowl, Splash, Dust
Pull the beans off the griddle straight into a bowl. Add a splash of olive oil. Dust with Montreal Steak Seasoning. Toss. Eat hot. Trust me.
Pro tip: Don't season on the griddle. Salt draws moisture out of the beans while they cook, the exact opposite of what you want when you're trying to build a char. Save the seasoning for the bowl.
What to Serve Them With
These beans hold their own against anything bold coming off the grill or griddle. They're the right call alongside smash burgers, smoked chicken thighs, grilled steak, or pork chops. The char gives them a depth that doesn't get swallowed up by big flavors. They stay present on the plate.
Notes
- Fresh beans only. Frozen green beans carry too much moisture. You'll steam instead of sear and never get real char. This recipe doesn't work with frozen.
- Fresh garlic, not garlic powder. Garlic powder behaves differently on a hot flat top and doesn't bloom the same way. Use the real thing.
- Lemon finish (optional). A squeeze of lemon right as they come off the griddle is excellent. It cuts the char slightly and lifts the whole dish.
- Red pepper flake. Add a pinch when you add the garlic if you want heat. It goes in at the same time for the same reason.
- Parmesan finish. Shaved or grated parmesan over the top right before serving is legitimate. Let the beans cool for 60 seconds first so the cheese doesn't melt into nothing.
When the Smoke Clears
The Truth About Green Beans
Amanda hated green beans when we met. The only kind she had ever had came out of a can. Nobody likes those unless they show up baked into a green bean casserole.
These are different. Fast, nutty, almost burnt in the best way. You drop them on a hot griddle, hit them with olive oil, and walk away until they start to blacken. That is the whole recipe.
Do not overthink them. The char is the point. Amanda eats them now. She makes me cook them more often than I like, but at least they are easy.
Gear Used in This Cook
These are the tools that make this recipe work. Affiliate links help keep the site free. Thanks for the support.
Featured Product
Blackstone 36" Outdoor Flat Top Griddle
4-burner, 720 sq-in cooking surface. The standard for backyard griddle cooking and the only flat top that runs this recipe right.
Check Price on AmazonFeatured Product
Blackstone 5464 Griddle Tool Kit
A complete set of long-handled stainless tools built for the flat top. The spatulas give you the reach and stiffness to turn beans cleanly without flinging them off the surface, and the scraper and chopper handle everything else.
Check Price on AmazonFeatured Product
Infrared Surface Thermometer
Point and shoot. Instant surface temp reads before you drop anything on the griddle. Stop guessing whether the surface is actually at 400°F.
Check Price on AmazonFeatured Product
McCormick Grill Mates Montreal Steak Seasoning
The finishing dust for the bowl. Rugged, peppery, coarse enough to grip a charred green bean. All the flavor this recipe needs.
Check Price on Amazon
Join In
Comments
Cooked this? Have a question or a tweak that worked for you? Leave a note below and reply to other readers.